ALL ABOARD: WE’RE GATHERING STEAM

This week’s area of focus is ENGINEERING. The challenge is to build a heart from toothpicks and playdough.

You’ll need:

  • Toothpicks
  • Playdough

Instructions
1. Set out a pile of toothpicks
2. Roll playdough into small balls- this will be the glue to connect the toothpicks together
3. Challenge your child to design and create a heart made of toothpicks

Children will learn about how to engineer different structures. They can use their creativity in design and test out the strength of different shapes. This is a fun way to learn and identify shapes.

Craft Source: Kindergarten Connection

ALL ABOARD: WE’RE GATHERING STEAM

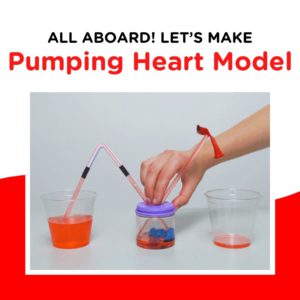
Want to see how the heart works?! This week’s focus on TECHNOLOGY is all about how a heart pumps in and out of its chambers.

You’ll need:
– Small Jar
– Cup
– 2 Bendy Straws
– Balloon
– Tape/Glue
– Water
– Red Food Colouring
– Toothpick

Instructions
1. Fill your jar halfway with water and add in your food colouring.
2. Take your balloon, cut the neck off it and stretch the top part over the jar’s mouth. Do not discard the neck part of the balloon, we’ll need that later.
3. Take a toothpick and poke a hole in the top of the balloon close to one side of the jar. Now, poke a second hole about an inch away from the first hole.
4. Take your straws and push one through each hole making sure the bendy part is sticking out the top.
5. Now take the neck part of the balloon and use it to cover up the opening of one of the straws and secure it with tape.
6. Place your cup under the other straw to catch the liquid.
7. It’s time to start pumping! Ask your child to push up and down on the balloon between the two straws. The “blood” will go up the open-ended straw and come out into the cup!

Our hearts have four chambers, and this activity shows kids an example of how one of those chambers works. Children will learn the technology behind how a heart pumps blood throughout your body when it stops beating on its own. Your child pressing up and down on the balloon is kind of like how a defibrillator works.

Craft Source: MomBrite
Picture Source: KiwiCo

ALL ABOARD: WE’RE GATHERING STEAM

This week’s area of focus is SCIENCE, we will make floating hearts.

You’ll need:
– Dry-erase markers
– Large shallow-sided dish (white works best)
– Water (room temperature)
– Straw

Instructions
1. Draw some hearts with your dry-erase markers on the bottom of your dish
2. Once the artwork is complete, carefully pour the water into the dish over the hearts. Pour slowly and steadily near the designs.
3. Now your artwork should lift and float around!
4. You can use a straw to gently blow the hearts around the dish too.

How do the hearts magically float? Dry-erase markers are designed to easily wipe off and are made with little adhesive. The ink is insoluble in water, so it won’t dissolve, but it is lighter than the water so it will float!

Craft Source: STEAM Powered Family 
Picture Source: Happy Hooligans

ALL ABOARD: WE’RE GATHERING STEAM

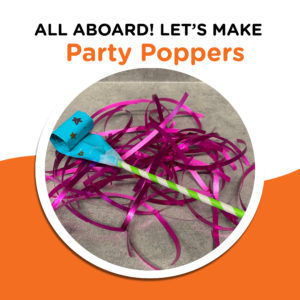
It’s 2023 and we’re celebrating the new year all month in our STEAM posts. This week’s area of focus is ENGINEERING. For the New Year, we are creating do-it-yourself party poppers!

You’ll need:

  • Leftover wrapping paper
  • Tape
  • Paper straw
  • Ruler
  • Elastic band
  • Scissors

Instructions

  1. Measure and cut out 2”x 8” strips of wrapping paper.
  2. Fold your strips, on both ends, lengthwise so they meet in the middle.
  3. Tape the strip down the middle and at the top, but leave the bottom open.
  4. Roll your paper up tightly and secure it with an elastic band. Let it sit for a few hours so it forms the rolled-up shape.
  5. Cut your straw in half.
  6. Take the elastic band off the paper and insert your straw about one inch into the end that was left open.
  7. Fold down the sides of the paper and tape them together to secure the straw.
  8. Try it out!

Children will learn about how to construct their own party blower and the engineering behind them as they test it out to celebrate the New Year!

Source: Happy Healthy Farm 

ALL ABOARD: WE’RE GATHERING STEAM

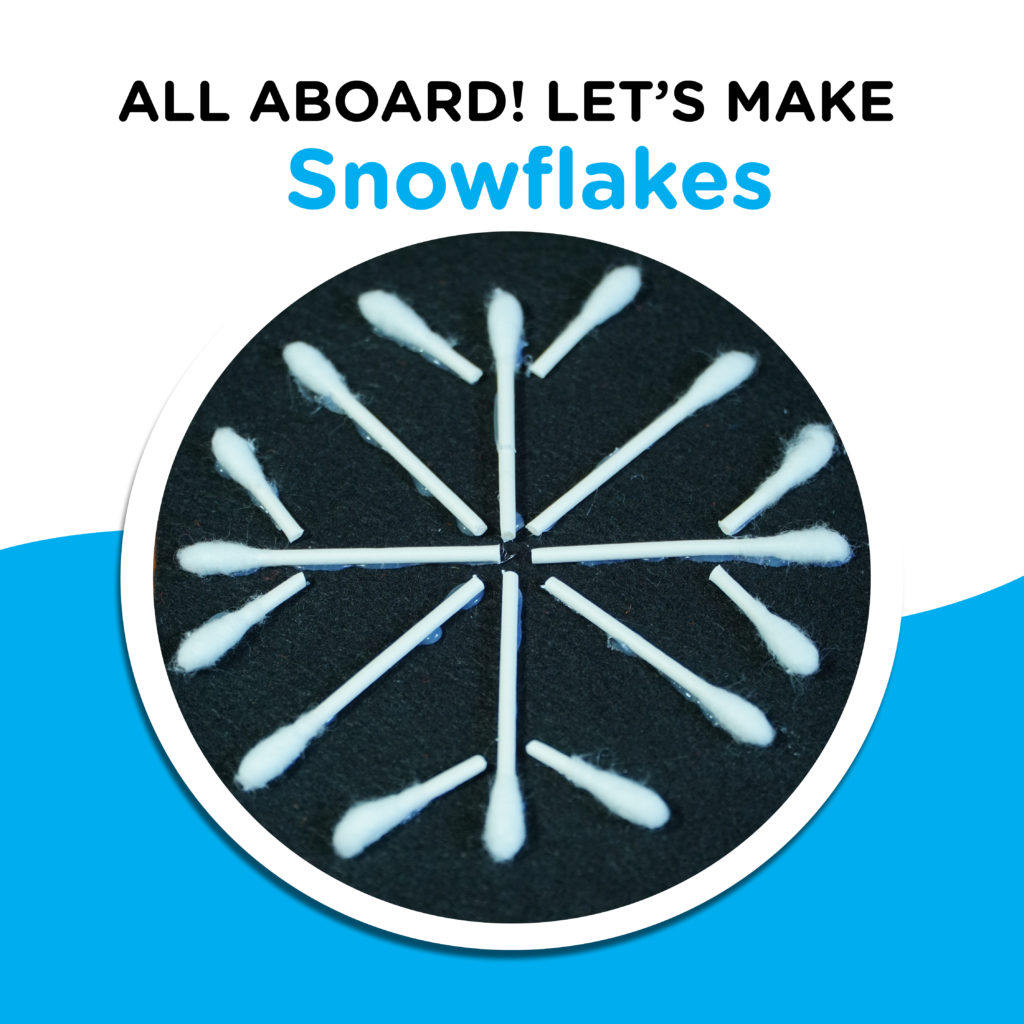
This week’s area of focus is ENGINEERING. Snowflakes are magical, beautiful, and complicated mini structures of ice. Let’s build our own from q-tips!

You’ll need the following:

  • Q tips
  • Glue
  • Felt or paper
  • Sparkles or glitter (optional)

Instructions

    1. Cut your q-tips up in different sizes
    2. Start assembling them to make a snowflake pattern

Once you like your pattern, add glue onto the back of the q-tip and place them onto your felt/paper to form a snowflake pattern.

Snowflakes are nature’s own engineering phenomenon. They are all unique and made from water droplets freezing in the sky. Some data engineers even study snowflakes to find trends in certain regions. 

ALL ABOARD: WE’RE GATHERING STEAM

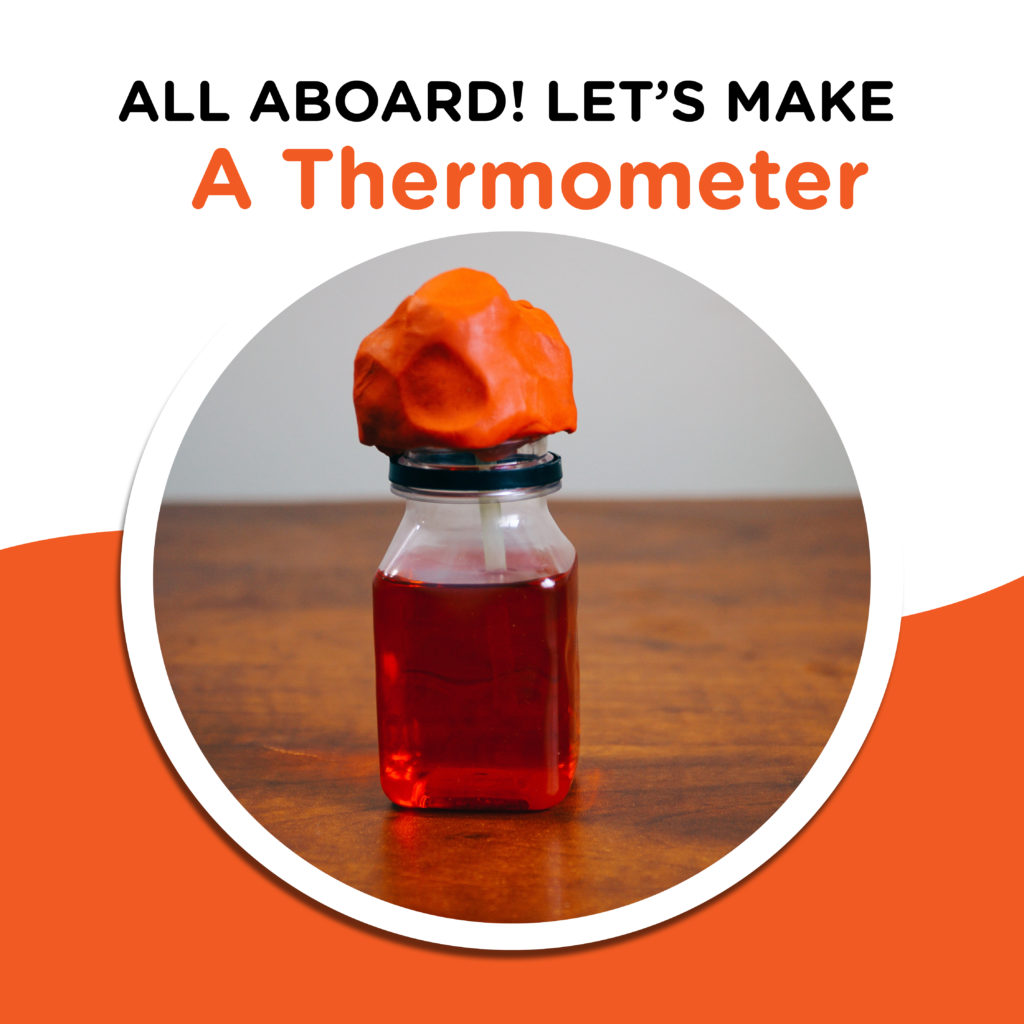
It’s time to learn about winter weather and make a homemade thermometer with this week’s focus on TECHNOLOGY.

You’ll need the following:

  • A clear plastic bottle/container
  • A straw that you can see through
  • Clay or playdoh
  • Red food colouring
  • Water
  • Rubbing alcohol
  • Cooking oil

Instructions

  1. Add red food colouring, 1/4 cup water, 1/4 cup alcohol and a tablespoon of oil into a container and mix.
  2. Place your straw inside the container, leaving about ½ inch at the bottom and cover the container mouth with your clay.
  3. Place your DIY thermometer outside in the cold and look at the difference in how high the liquid rises in the straw at various temperatures.

Most thermometers contain alcohol due to its low freezing point. As the temperature of the alcohol increases, it will cause the liquid inside the homemade thermometer to rise! Let’s hope we have a warm winter.

Source: Little Bins For Little Hands

ALL ABOARD: WE’RE GATHERING STEAM

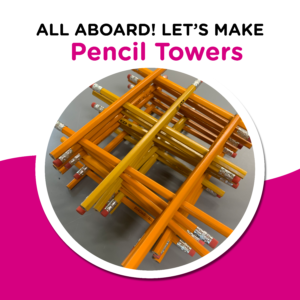
Here’s a quick activity for all those pencils you may have purchased for kids going back to school; pencil towers! It’s fun and an EnGINEERING challenge too. 

All you need are pencils. 

This challenge may seem simple, but it involves some steady hands and a creative mind. The goal is to stack your pencils as high as you can without them falling over. How many can you stack in 1 minute? Or make it a challenge and see if you can build your tower higher than your friends or family members! 

We used a base that creates a box shape but feel free to get creative and design your own. 


If you try your hand at this pencil engineering, please share your towers with us on social @childmuseumwpg

ALL ABOARD: WE’RE GATHERING STEAM

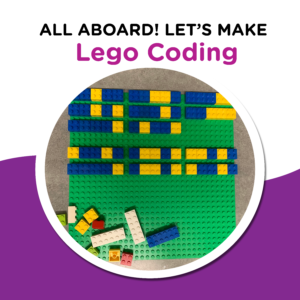
This week’s area of focus is TECHNOLOGY, and we’re learning how to code with Legos.

In this activity, children get to learn about how coding works and come up with their own secret messages to decode.

You’ll need:

  • Lego’s
  • Lego board
  • Coding template you can find here

First, you need to decide which two colours you’d like to use to make your secret code. We chose blue and yellow to indicate either a 0 or a 1. Next, use your template to write out your message on the Lego board. Once you have written your code out, have a friend try and figure out the message!

Can you decode our secret message? Use the template to find out!! You can try this with a friend if you need to pass along an important message.

(Answer: Children’s Museum ?)


Share your secret messages with us on social media @childmuseumwpg. We’d love to try and figure it out!

ALL ABOARD: WE’RE GATHERING STEAM

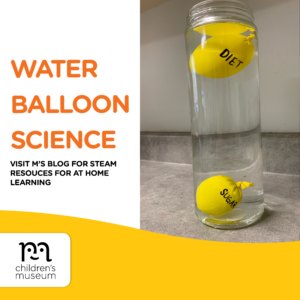
This week’s area of focus is SCIENCE, and we’re making water balloons.

In this experiment, your child will learn about liquid density and why some balloons float or sink.

You will need:

  • Balloons
  • Sugary drink
  • Diet sugary drink
  • Large container

Once you have your materials, fill your balloons and label them. Then, fill your large container with water. After, have your child place the balloons in the large container with water and watch to see which ones float and which ones sink. 

Sugary drinks sink, but why? This activity teaches children the scientific process that sugar-filled drinks sink because sugar is heavier. You can learn more here

ALL ABOARD: WE’RE GATHERING STEAM

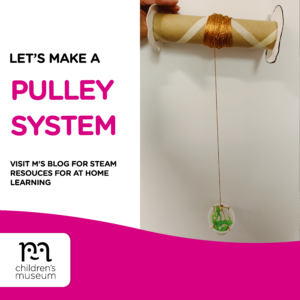
This week’s area of focus is ENGINEERING, and we’re making a pulley system. 

Even though pulleys look simple, they are powerful, ingenious machines that are used in everyday life to help make jobs easier. Your kids will love learning about this simple machine.

You will need:

  • An old ribbon spool
  • Dowels/chopsticks
  • String
  • A container

Once you’re done building your machine, take turns putting different items like toys or snacks in your pulley and reeling it up. You can learn more here about pulley systems. 

If you try this at home, please share how it went and don’t forget to tag us on our social media pages so we can enjoy it too!