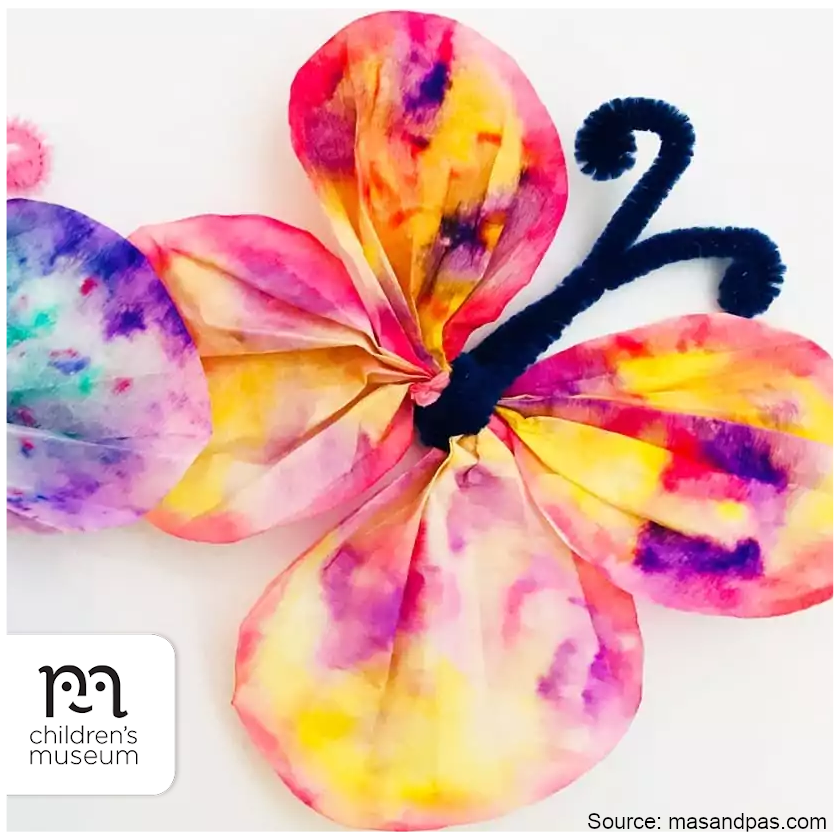
CREATION STATION: COFFEE FILTER BUTTERFLIES

Source: masandpas.com
Make a butterfly with this exciting coffee filter and watercolour technique!
Materials
- Coffee filter papers – you need four circles for each butterfly
- Washable felt pens
- Pipe cleaners
- Pipette/spray bottle/large paintbrush
- Water
Directions
- You need four coffee filter circles for your butterfly. Split your circles into two pairs of two coffee filters. Put each circle neatly one on top of the other so that you have two piles of two.
- Decorate the top coffee filter with washable felt pens. Use nice bright colours and have fun making any patterns you like. Don’t worry if the designs look rough or messy at this stage. They will soon be transformed completely.
- Place the coffee filter circles on a baking tray. (Take care not to move the undecorated bottom layers.)
- Now for the exciting bit: drop water all over the surface. You can use a little water bottle pipette or spray bottle or even a fat paintbrush dipped in water. Cover the entire circle with water drops.
- Then watch the colours start to blend into each other. Once the whole circle is wet, the blank coffee filter underneath will soak up the colours. You should get two matching pairs of coffee filters.
- Separate the top and bottom layers of each pair. Put the four coffee filters onto a piece of kitchen towel to dry.
- When they are completely dry, accordion fold each circle. Fold it one way and then another into thin accordion folds. Now you have four folded ‘wings’. Bring the top two wings together by overlapping the folds slightly. Do the same for the bottom pair of wings.
- To tie the wings together fold a pipe cleaner in half, then wrap it around the centre of the two sets of coffee filters. Twist the pipe cleaner so all that all four pieces are held securely in place. To finish, fan out the four wing parts. Curl the ends of the pipe cleaner around to make the butterfly’s ‘antennae’.

